7 Simple Yet Highly-Effective Exercises for Your Glutes
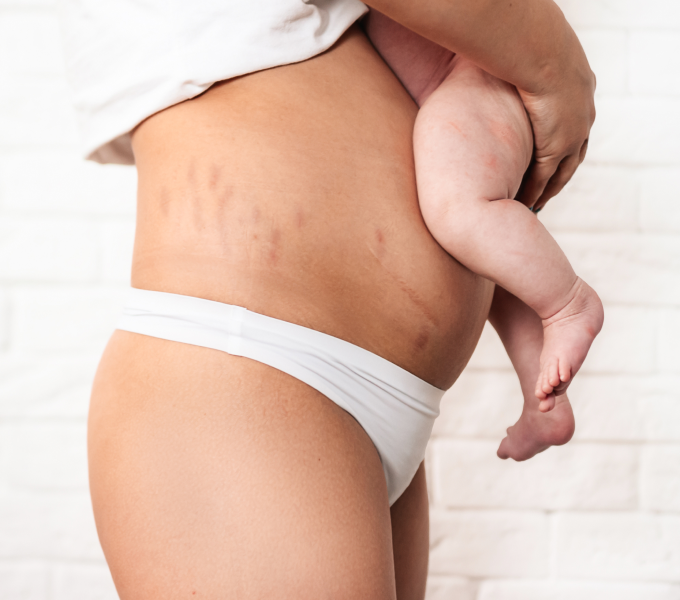
You’ve probably heard the term “mom butt” used to describe a derrière that tends to disappear or flatten in the years following pregnancy and childbirth. Though it's meant to be lighthearted, we don't love it the term. After all, the butt that's been there for you through it all deserves more respect.
If you're a parent and your backside is feeling deflated, that's because raising a baby (or babies) doesn't typically involve a lot of glute-strengthening activities. Early postpartum days — and even the years that follow — are filled with hours of sitting as you cuddle, feed, and care for your kiddo or just stay close by as they play. And, it goes without saying, you may be way too exhausted to hit the gym. As a result, your glutes can weaken, lose some tone, and have impaired function.
But like any other muscle in your body, your amazing glutes are always capable of getting stronger. Below are our 7 favorite glute exercises for people who are six weeks to several years postpartum.
Why Strong Glutes Are So Important
At the back of your hips, the main muscles of your buttocks are the gluteus minimus, gluteus medius, and the gluteus maximus. These strong, important muscles are vital in supporting your posture, help to provide balance and stability in your pelvis, and assist in keeping your moving — walking, running, and dancing for example — and move your hip into extension (aka move your leg backward when you walk or run).

When these muscles are weak, or underused, it can lead to a variety of functional issues, and even cause other muscles and tissues in your body to have to “pick up the slack” which ultimately leads to more pain and dysfunction. Weak glutes are also associated with hip, knee, and back pain, even pelvic floor muscle dysfunction.
So, while how your butt looks may not be your top goal (or even if it is) , exercises that target the glutes are so important in helping you regain strength, improve overall functional movement, and alleviate pain and dysfunction in various areas of your body.
7 Glute Strengthening Exercises to Try Now
1. Forward Facing Step Up
How to do a forward facing step up:
- Start standing, facing a step or yoga block.
- Place your right foot on the step in front of you.
- Shift your weight onto your right foot and straighten your right knee as you raise your left knee up toward the ceiling. Tip: Try to keep your pelvis level.
- Keep your weight in your right foot as you lower your left foot back to the floor.
- Repeat several times before switching feet.
Where you'll feel it: In the front thigh, glute, and hip
2. Sideways Step Up
How to do a sideways step up:
- Start standing sideways next to a step or yoga block, so that your right foot is closed to the step.
- Place your right foot up on the step.
- Shift your weight to your right foot and straighten your right knee as you raise your left knee up toward the ceiling. Tip: Try to keep your pelvis level.
- Bend your right knee as you lower your left foot back down to the ground.
- Repeat several times before switching feet.
Where you'll feel it: In the front thigh, glute, and hip
3. Kneeling Squat
How to do a kneeling squat:
- Start in a low kneeling position with your knees hip distance apart and your hips resting on your heels.
- Draw the belly inward, then squeeze your glutes to lift your hips off of your feet and into a tall kneeling position where your hips and shoulders are positioned over your knees and your back is straight.
- Keeping your core engaged and back straight, slowly lower your hips back to your heels.
Where you'll feel it: In your glutes and core
4. Single Leg Bridge with a Chair
How to do a single-leg bridge with a chair:
- Start on your back in front of a chair with both knees bent. Your feet are flat and hip distance apart and your arms are at your sides with both palms on the ground.
- Place both heels on top of the seat of the chair in front of you so that both hips and knees form a 90-degree angle.
- Draw your belly button in towards your spine to engage your core.
- Lift your right foot off of the chair, keeping your right knee bent 90 degrees.
- Squeeze your glutes and push through the heel of your left leg to lift your hips into a bridge position. Tip: Your left shoulder, knee, and hip should form a straight line.
- Slowly and with control, lower your hips back to the ground.
- Repeat several times then switch legs so that you're lifting your left foot of the chair.
Where you'll feel it: In your glutes and core
5. Standing Curtsy Lunge
How to do a standing curtsy lunge:
- Start standing with arms at your sides and feet hip distance apart.
- Take a big step backwards with your right foot, bringing your right leg behind your left leg. Tip: Bring your arms together in front of your body or keep your hands on your hips for balance.
- Lower your right knee towards the floor by bending both of your knees to 90 degrees. Tip: Keep your weight in your right leg as you bend.
- Push up through your right foot as you straighten your left leg to return to the starting position.
- Repeat several times before switching to step back with your left leg.
6. Modified Side Plank with Hip Abduction
How to do a modified side plank with hip abduction:
- Start lying on your side with your knees bent, then prop yourself up onto your left elbow. Your left elbow should be directly underneath your left shoulder with your left hand and forearm resting on the floor. Tip: Try to keep your shoulders, hips and knees in a straight line.
- Straighten your right leg so that your foot is resting on the floor.
- Pull your belly button in towards your spine. Keeping your core engaged, squeeze your glutes to lift your hips up off of the floor. Tip: For sustained holds, try to keep your left hip at the same elevated height throughout by squeezing your left glute.
- Lift your right leg into the air so that your right foot is at the same level as your hip.
- Without allowing your hips to roll back or forward, lower your right leg back to the floor.
- Slowly lower your hips back down to the floor.
- Repeat several times then switch sides.
Where you'll feel it: Glutes of your lower leg
7. Single Leg Squat with Foam Roller
How to do a single leg squat with a foam roller:
- Start standing next a wall with a small foam roller placed between the wall and the outside of your right knee.
- Press the foam roller into the wall with your right knee and shift your weight onto your left leg.
- Lift your right foot off of the floor while continuing to press the foam roller against the wall.
- Push your hips back and bend your left knee to enter a squat position.
- Squeeze your glutes and straighten your left knee to return to a standing position.
- Repeat several times then switch sides.


